
Our DIY Design Journey with Tongue and Groove Wooden Ceiling
Our dining room before + after is pretty dramatic and all the work was SO worth the end result. I pulled inspiration from our moody Rosemary-colored master bedroom and the refined rustic nature that surrounds our dining room just outside the windows. We had a lot of fun and challenges with this project but we’re so glad we jumped in and completed this ourselves while learning so much along the way.

Before
Before installing the ceiling, we painted the entire room in Sherwin Williams Iron Ore in their Emerald-grade paint. It was the PERFECT charcoal hue that added moodiness and some drama into the whole living space. On the walls and ceiling we painted a Matte finish, and on the trim we did a Satin finish for the perfect subtle contrast. Emerald paint is Sherwin Williams’ higher grade level of paint and brings a richer hue of the color, in my opinion.

Sherwin Williams Emerald-grade paint in Iron Ore
This entire project cost us between $800-900 including paint too and could be done in about 4-5 days realistically if you don’t hit any hiccups and keep the energy going. The largest expense was the wood, so if wood prices decrease for a period or if you have a smaller room to complete, that would make it even more cost-saving! It just took us a bit longer because we both have full-time jobs and worked on it over weekends and afternoons/nights after work just whenever we could fit it in.
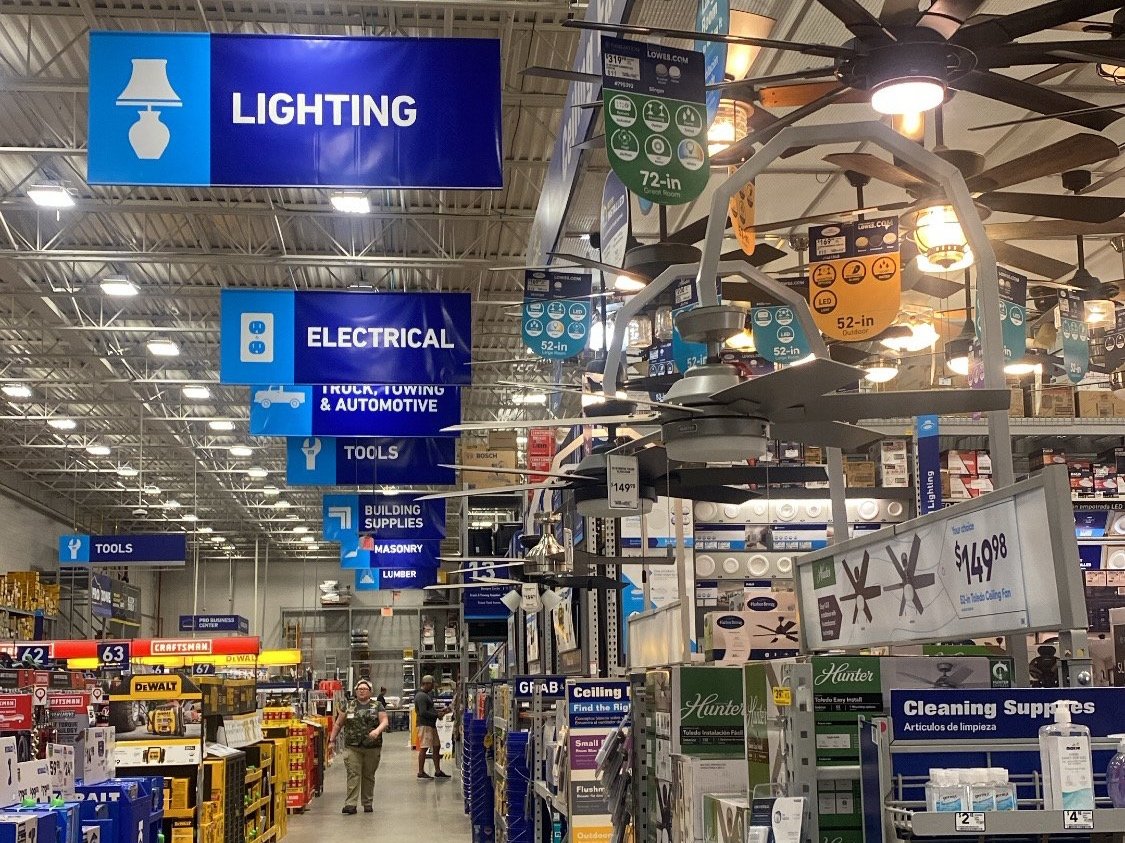
Shopping for wood at Lowes
Getting Started
- Power Tools & Materials you will need: Electric sander, Miter saw and/or Skill saw, Nail Gun + Air Compressor, 2-inch Nails, Stud Finder, Power Drill with Hole Saw Drill Bit, Two 4” Brushes for Stain
To start your home improvement project, measure about 3 times to make SURE you buy the correct size & number of materials boards. Next, head to Lowe’s and get untreated 12 ft x 6 in Tongue and Groove boards for your ceiling along with untreated (bare wood) Quarter (3⁄4) Round pieces to finish it off as trim. We used Southern Yellow Pine wood.
The standard board lengths come in 8 ft, 12 ft, and 16 ft. To get the continuous look on our ceiling (and NOT the shiplap / pieced together look) you want the boards to be the same length as your ceiling/room you’re putting them in. Our ceilings were just over 11 ft wide, so we had to use a power saw and cut them exactly to the measurement.
- Note: we also purchased 2 extra Tongue and Groove boards than we actually needed just in case one got messed up. Highly recommend!
Sanding the Boards
You will do 2 rounds of sanding to all boards with your Electric Sander. First round of sanding, use an 80 grit sandpaper. Then for the second round, use 220 grit for refining. This will help get your boards nice and smooth so your stain will go on evenly.
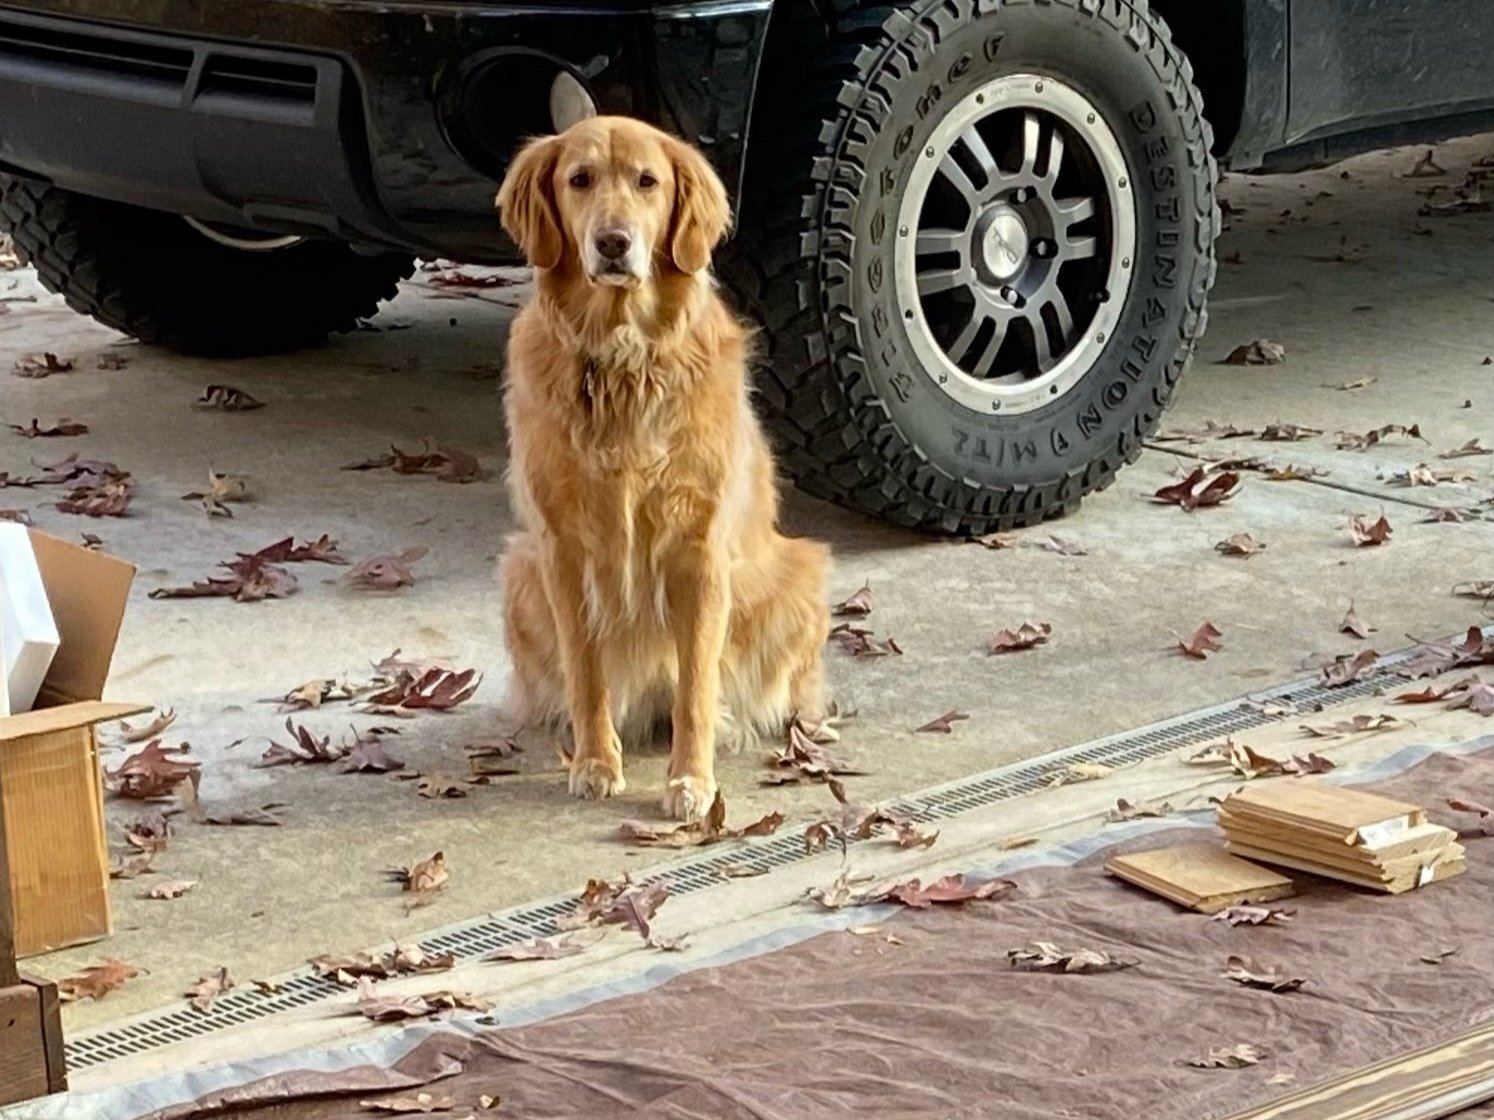
Our project manager on duty!
Staining
Sherwin Williams has exclusive stain color offerings, and their staff was SO helpful in choosing the perfect color. They let us test out stain color samples on extra wood we brought in - this is an important step. TEST the stain on your exact wood (extra scrap pieces) & let it dry to see how it will really look because stain does NOT look the same in a photo and definitely reveals differently on varying wood types. We ended up going with Minwax oil-based wood stain in Special Walnut
We consulted a friend of ours who has been a painter + handyman over 20 years, and he advised that we did NOT have to use a wood conditioner if we didn’t want to. We did not since that was going to push our project 2-3 more days and our boards turned out great without it. Depending on the type of wood you buy, you may want to use a Wood Conditioner just to be safe. Minwax makes both conditioners and stains that go together - all that can be bought at Lowe’s or Sherwin Williams. If you want to use a conditioner, be sure to apply after sanding and before stain and let dry completely.
First Stain Coat: Take your 4” Staining Brush and brush the stain onto the boards, let it soak a few seconds, then gently wipe the excess off with a plush rag. Let the first coat dry 8-10 hours

Staining the wood with Minwax oil-based wood stain in Special Walnut
Second Stain coat: repeat the “brush on / wipe off with rag” process and let the stain soak into the wood and dry fully over 24 hrs.
LASTLY, apply your clear coat with a fresh 4” Stain Brush to seal in the beautifully stained wood. We used Minwax Polycrylic Matte Finish from Lowe’s

Adding a clear coat with Minwax Polycrylic Matte Finish
Assembling Boards to the Ceiling
VERY IMPORTANT: FINDING STUDS - Take your Stud Finder tool and mark with a piece of chalk or pen where each stud is on the ceiling. Along each of the studs across the ceiling is where you will put the nails in when affixing the boards to the ceiling.
Using at least 2 people, grab your first board and nail it to the ceiling along studs (woohoo! You’ve just started!) Grab your next board, fit the tongue and grooves together, and nail away all along the board + studs in the ceiling! Repeat the process until you have all boards up along the ceiling

Attaching the boards to the ceiling

Using a nail gun + air compressor to securely attach the boards to the ceiling

The finished ceiling before light fixture install and trim
3⁄4 Round Trim
Last but not least: the trim work to add a nice, polished touch to your warm and classic ceiling! Using a 45 degree Angled Miter Saw, cut the quarter rounds appropriately to fit together in each corner and then nail them up along the outlines of the ceiling in the room

Helpful Tips:
Determine which board(s) you will have to cut/drill a hole into to fit your light fixture and cut that hole BEFORE nailing the board(s) up on the ceiling
Before cutting boards to fit the length of walls, note there may be some variation
Pro Tip for more accurate ceiling length measurement: make a mark in the middle of your ceiling, measure from that mark to one wall, then measure from the mark to the other wall. Add those two together & it is a more accurate measurement than stretching your measuring tape out (my husband insisted I include this very detailed tip haha).
The Finished Dining Room

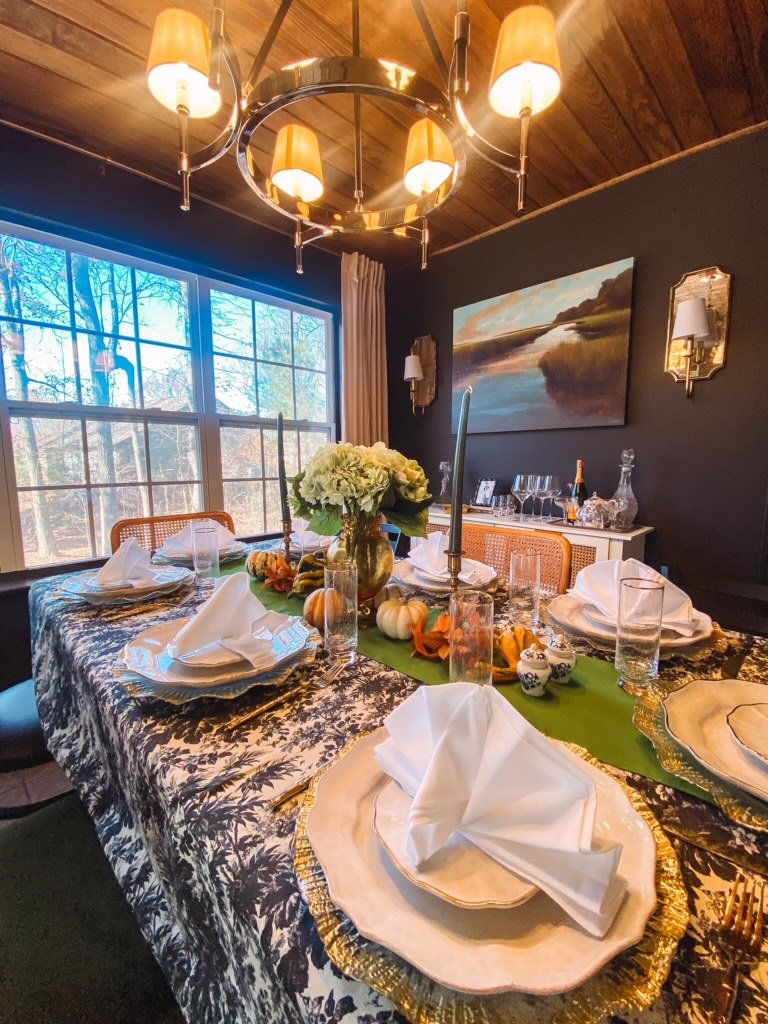
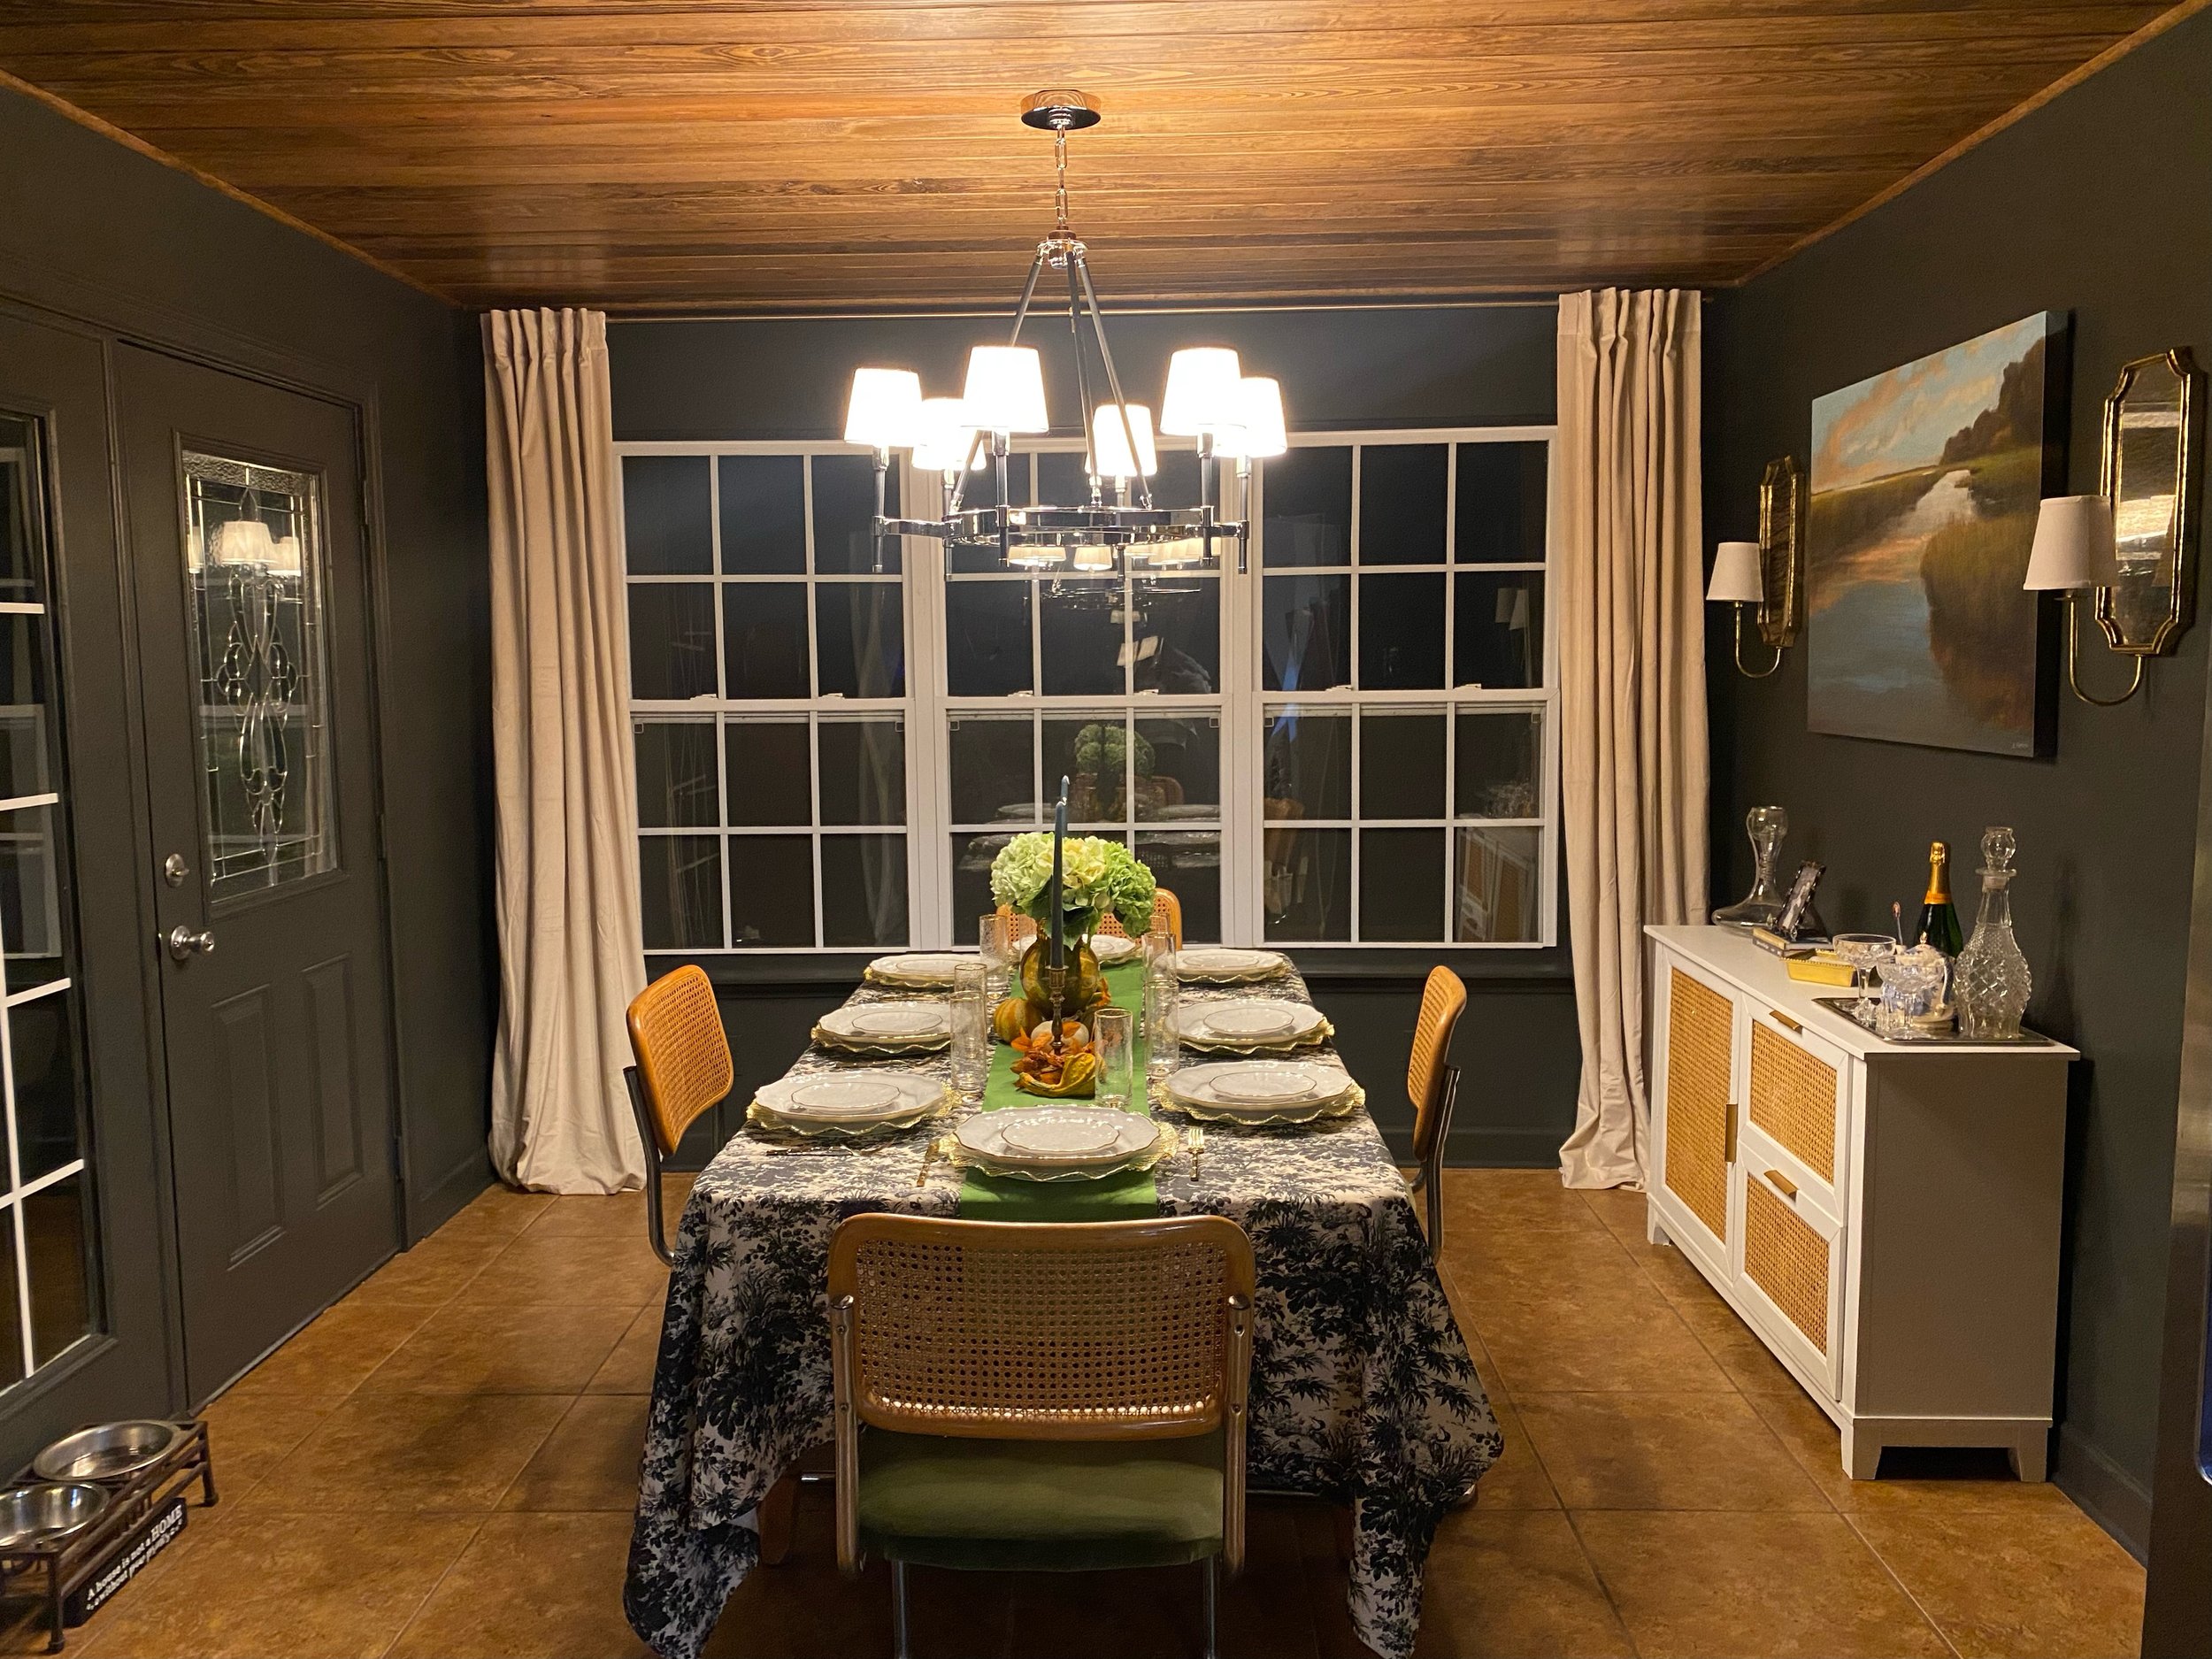
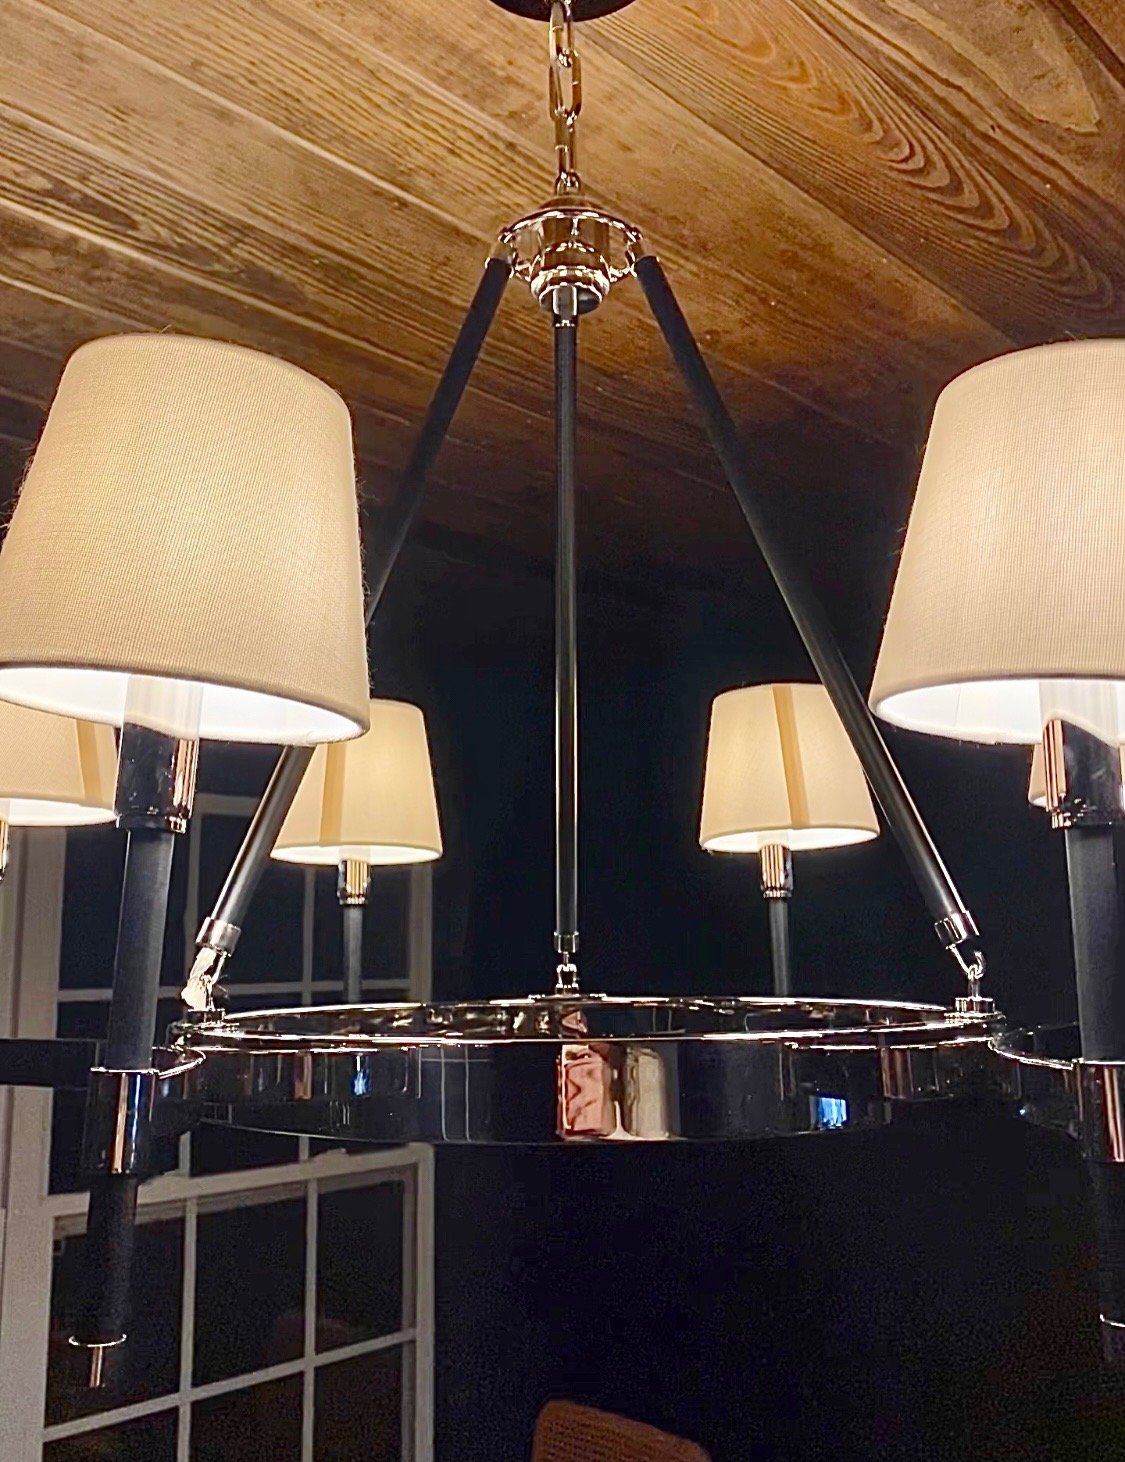
Our light fixture details
*Disclaimer: we are not professionals and this blog is a recount of our personal DIY experience. For professional expertise or advice, please contact a licensed contractor.